Fitting a screen protector takes about ten minutes, and almost every bad result comes from the first two of them: a screen that was not quite clean, or a protector put down before it was lined up. Bubbles, dust specks and a protector sitting a millimetre off to one side are all avoidable. This guide goes through the job in order, from what to have on the table before you open the packet to getting an old, cracked protector off without scratching the phone underneath.
The steps are much the same for glass and for film, and for a phone or a tablet. Where they differ, the guide says so. If you have not chosen a protector yet, the guide to screen protectors explains the kinds, and this one picks up once the packet is in your hand.
What you need before you start
Most protectors come with a small kit in the box. Check what is in yours before you begin, because finding out halfway through that there is no dust sticker is how specks end up under the glass. A typical kit has:
- a wet wipe, usually alcohol, to lift grease and fingerprints from the screen;
- a dry microfibre cloth, to dry and polish the screen after the wet wipe;
- dust stickers, small sheets of sticky film that pick up any last specks;
- a fitting frame or guide on many, a plastic tray or a set of tabs that holds the protector in the right place as it goes down;
- a smoothing card, a flat plastic card for pushing bubbles out to the edges.
If anything is missing, you can make do. A clean, lint-free microfibre cloth of the kind sold for glasses does the drying, and a strip of ordinary sticky tape does the work of a dust sticker, as long as it is clean and you press it on lightly. A bank card wrapped in the microfibre cloth makes a reasonable smoothing card. A kit of fitting frames and alignment tools is worth having if you fit protectors often or have had trouble getting one straight before, and a bottle of screen spray with a cloth is useful for this and for cleaning the phone afterwards.
Two more things help. Take the phone out of its case, because a case gets in the way of a frame and its edges collect dust. And turn the phone off, or at least lock it, so that wiping and pressing the screen does not open apps, send messages or change settings while you work.
Glass or film: the one difference that matters now
Tempered glass is stiff. It goes down in one piece, and once its adhesive has touched the screen it is hard to lift and reposition without picking up dust. So with glass, the lining up matters most. Film, such as hydrogel film, is soft and flexible. It can usually be peeled back and laid again a few times, which makes it more forgiving, but it is easier to crease and its bubbles take longer to settle. Some film is fitted wet, with a spray that lets you slide it into place; if your pack includes a spray or tells you to fit it wet, follow those instructions rather than the dry method here.
Choosing where to fit it
Dust is the enemy, and the room you choose decides how much of it there is. Pick a place where the air is still: windows shut, fans and heaters off, nobody walking past. A kitchen table after it has been wiped down works well. Avoid fitting a protector outdoors, in a car, on a carpet, or anywhere a pet sleeps.
A common tip is to fit a protector in a bathroom a few minutes after a hot shower, because the steam is said to bring dust down out of the air. If you try it, wait until the mirror has cleared, and keep the phone well away from water and from the steam itself. A damp screen will not let the adhesive grip, and a phone is better kept out of a steamy room for long.
Good light helps more than people expect. Dust and smears show up best when light falls across the screen at a low angle, so a desk lamp to one side, or a window with daylight coming across the table, lets you see each speck before it is trapped. Wash and dry your hands too, so that you are not putting fresh grease on the screen and the protector as you handle them.
Give yourself time. Ten minutes without anyone asking you for anything is enough. Rushing, and fitting the protector the moment the box is open, is the most common cause of a crooked one.
Cleaning the screen properly
A screen can look clean and still carry a film of grease from your face and fingers. Adhesive does not grip grease, so the protector lifts at that spot, or a cloudy patch shows through it. Clean in three steps.
1. The wet wipe
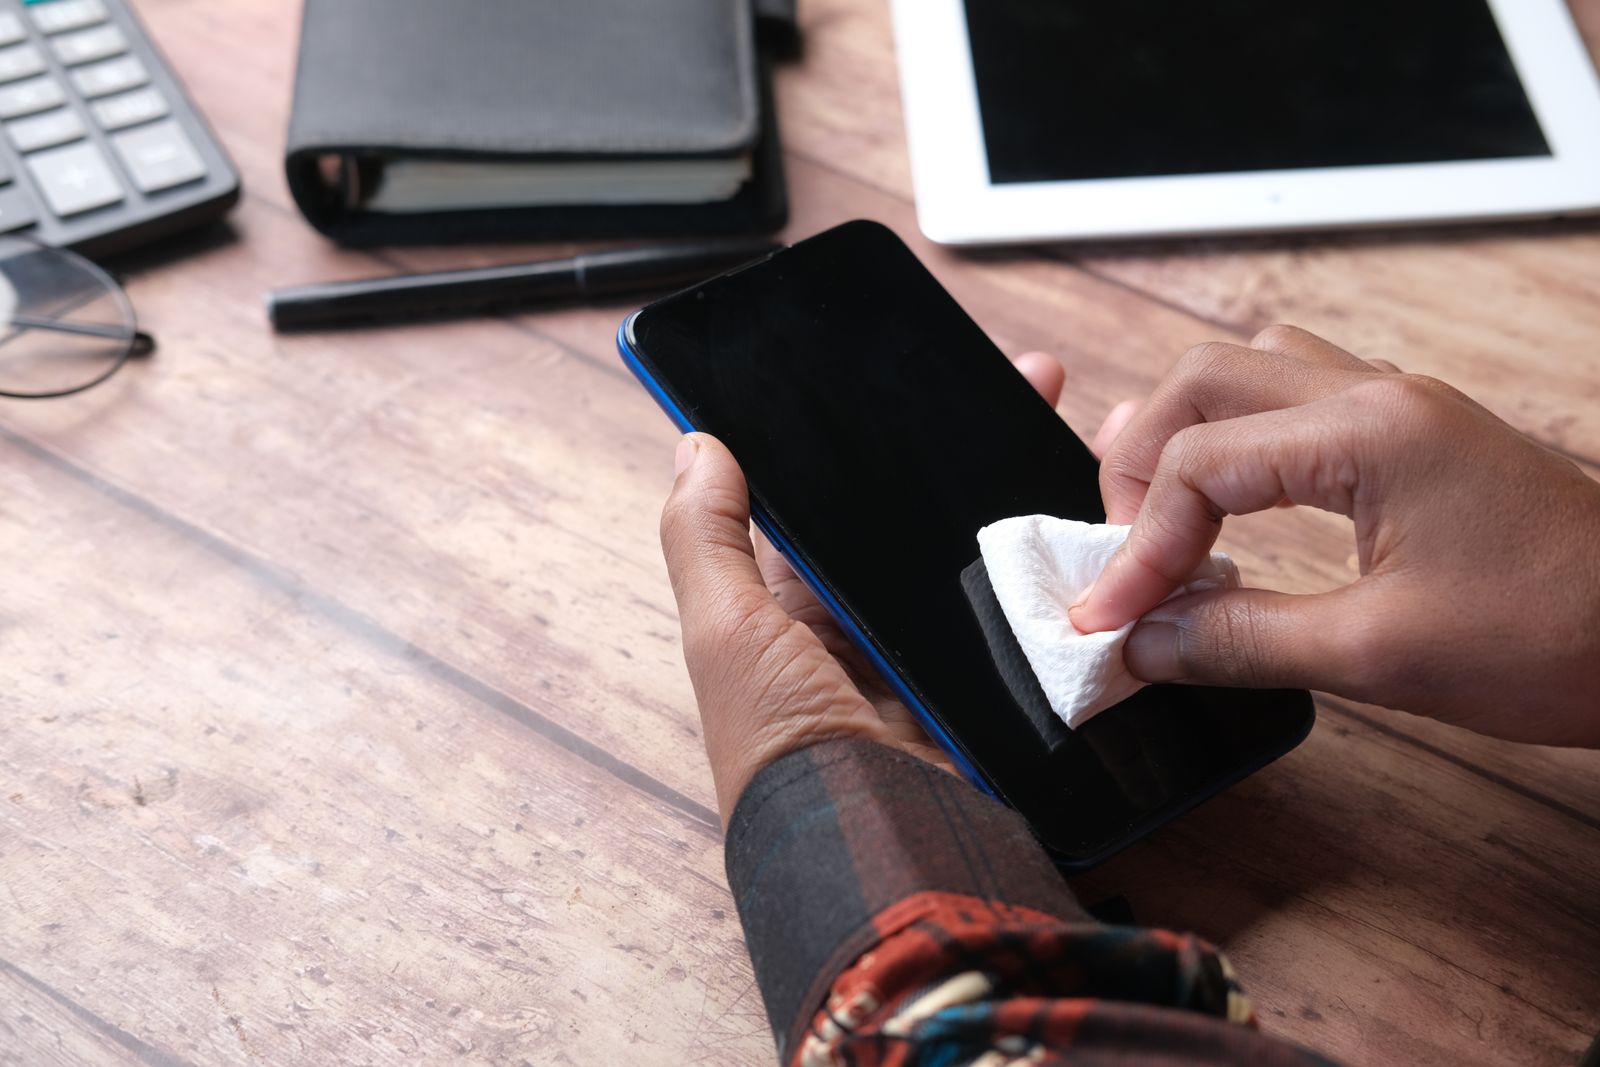
Wipe the whole screen with the wet wipe from the kit, working in one direction from top to bottom rather than in circles, which just move the grease about. Go right to the edges and into the corners, and over the earpiece and the camera at the top. Apple's own cleaning advice for the iPhone allows a 70 percent isopropyl alcohol wipe to be used gently on the outside of the phone, and asks you to keep moisture out of openings such as the charging port and the speaker grilles, so do not let liquid run into them. It also says not to use cleaning products with bleach or hydrogen peroxide, and that cleaning products and abrasive materials will wear the screen's coating, so leave the kitchen spray and the scouring side of the sponge out of this.
2. The dry cloth
Dry the screen at once with the microfibre cloth, again in one direction, until no streaks are left. Look at the screen with the light across it. If you see a smear, wipe again. If you see dust, leave it for the next step rather than wiping, because wiping can push specks into the edges where they are harder to lift.
3. The dust stickers
Dab the dust sticker over the whole screen, pressing it on and lifting it off, rather than dragging it. Go over the edges and corners twice, because that is where dust gathers. Then look again with the light across the screen. A single speck the size of a full stop is enough to raise a bubble the size of a coin under glass, so it is worth the extra minute.
Once the screen is clean, do not touch it again with your fingers, and do not leave it lying uncovered for long. Move on to lining up straight away.
Lining it up, with and without a fitting frame
Every protector has an inside face, with the adhesive, under a backing film, and an outside face, often with its own thin film on top. The backing film is usually numbered or marked: number 1 comes off first, before the protector goes down; number 2, on the outside, comes off at the end. Check which is which before you peel anything.
With a fitting frame
Frames come in a few kinds. Some are a tray the phone lies in, with the protector dropped in from above; some clip round the phone's edges; some are a pair of tabs that stick to the protector and fold over the sides of the phone. They all do the same thing, which is to hold the protector in exactly the right place while it goes down.
- Put the frame on the phone, or the phone in the frame, before you peel anything, and check it sits square.
- Peel the backing film from the protector, holding it by the edges only. Do not touch the adhesive face.
- Lay the protector into the frame, matching its cut-outs to the earpiece, the front camera and any sensors at the top.
- Lower it, or let it settle, without pressing yet. Then go on to pressing down below.
Without a frame
Without a frame, you line it up by eye, and the hinge method makes that much easier.
- Without peeling anything, lay the protector on the screen and move it until the cut-outs and edges are exactly where they should be.
- Stick two short pieces of tape across one long side, half on the protector and half on the back of the phone, so they work as a hinge.
- Fold the protector open on its hinge like the cover of a book, peel off the backing film, and check the screen once more for dust.
- Fold it back down. Because the hinge holds its position, it lands exactly where you lined it up.
Whichever way you use, look at the top of the phone before you press. The cut-out for the earpiece and the front camera must sit over them, not partly across them. On an iPhone with Face ID, Apple's advice if Face ID stops working is to remove anything covering the TrueDepth camera at the top of the screen, a screen protector included, and the phone may show a "Camera covered" alert. A protector that is a millimetre too high can do exactly that.
Full-cover glass for curved screens needs the most care, because it only fits one way and its edges must follow the curve. Some curved-screen glass comes with a liquid adhesive and a small UV lamp instead of a sticky layer. If yours does, follow its own steps exactly, use only as much liquid as it says, and keep it out of the speaker, the earpiece and the ports.
Pressing it down and pushing out bubbles
With the protector lined up and resting on the screen, press a fingertip in the middle and hold it. On most glass you will see the adhesive spread outwards from that point on its own, a wave moving to the edges. Let it run. Pressing in the middle first, rather than at one end, gives trapped air the shortest way out.
When the wave has stopped, use the smoothing card, or a cloth wrapped round a bank card, to push any remaining air to the nearest edge. Work from the middle outwards in straight strokes, firm but not heavy. On film, work from one end to the other, smoothing as you go, so that no air is trapped ahead of the card.
Then peel off the outer film, the one marked 2, and give the screen a final wipe with the dry cloth.
What to expect afterwards
- Air bubbles that have no speck in the middle can often be pushed out to the edge with the card.
- Small bubbles under film often fade over a day or two as the adhesive settles. Give them time before you decide the fitting has failed.
- A bubble with a dot in the middle is dust. Pressing will not move it. See the fixes below.
- A white or rainbow line round the edge of glass usually means the edge is not touching the screen. Pressing it for a few seconds may fix it; if a case pushes on it, see below.
Put the case back on and check that its edges do not press on the protector. Cases with a raised lip round the screen sometimes push the edges of glass up, which lifts them away from the screen and lets dust in. If that happens, a slimmer protector that stops short of the edge, sold as case-friendly, usually solves it; the guide to choosing a phone case covers cases that work with glass.
Fingerprint readers in the screen
Many Android phones read your fingerprint through the screen. Samsung recommends registering your fingerprints again after fitting or replacing a screen protector, and warns that thick, glass, silicone or patterned protectors, or ones not certified by Samsung, can stop prints registering or make the reader less reliable. So once the protector is on, delete your saved fingerprints and add them again. If the reader still struggles, many Samsung phones also have a Touch sensitivity switch in the Display settings, meant for use with a screen protector.
Dust under the glass, and other fixes
A speck of dust under the glass is the most common problem, and it can often be fixed without starting again.
Lifting it out
- Take a short strip of sticky tape and press it to the corner of the protector nearest the speck.
- Lift the tape slowly so the protector peels back with it, just far enough to uncover the speck. Do not lift the whole thing, and do not bend glass sharply.
- With a second strip of tape, or a dust sticker, dab the speck off the screen, and the protector's adhesive face if it has stuck there.
- Lower the protector again and press from the lifted edge back towards the middle.
This works best within a few minutes of fitting, while the adhesive is fresh, and best of all on film. On glass, try it once or twice; each lift risks a little more dust.
Other common faults
- The protector is crooked. If it is film, lift it with tape from one corner and lay it again. If it is glass and badly off, it is usually better to fit a new one than to fight it.
- A corner will not stay down. There is probably a speck under it, or the edge is resting on the curve of the screen. Lift and clean as above. If a case is pushing it, try another case.
- The screen does not respond well to touch. Press firmly over the whole surface to make sure the adhesive is in contact everywhere. A gap of air between protector and screen can make touches miss.
- A rainbow or cloudy patch. That is usually grease that the wet wipe missed, or adhesive not yet settled. Give it a day; if it stays, the fitting may need doing again.
Most packs of glass come with two or three protectors, partly for this reason. A second attempt, with what you learned on the first, is nearly always better.
Taking an old protector off
Old protectors come off more easily than new ones go on, but a cracked one needs a little care.
A whole protector
- Take the case off and turn the phone off.
- Find a corner and lift its edge with a fingernail, or with a thin plastic card. Never use a knife, a pin or anything metal, which can scratch the screen or the frame of the phone.
- Once a corner is up, peel slowly and evenly across the screen, keeping the protector low rather than bending it upwards.
- Clean the screen as described above before you fit the new one. Any adhesive left behind usually wipes off with the wet wipe.
A cracked glass protector
Cracked tempered glass usually holds together, because it is designed to break into small pieces on its adhesive layer. Even so, small sharp chips can come away as you peel. Cover the cracked protector with a strip of wide clear tape first, so the pieces stay together, and lift it from the corner furthest from the worst cracks. Keep the pieces away from children and pets, and wrap them before you put them in the bin.
Phones that fold
On Samsung's Galaxy Z Fold and Z Flip phones, the inner screen comes with a protective film fitted at the factory. Samsung warns that taking it off yourself, or fitting a film that is not Samsung's own, may cause touch problems and damage to the screen, and points owners to a service centre if the film is damaged. So on a folding phone, leave the inner film alone, and fit protectors only to the outer screen.
The same steps work for the small glass covers over the camera lenses. The guide to camera lens protectors goes through fitting and removing those.
Questions people ask
Can I fit a screen protector with the case on?
It is better not to. The case gets in the way of a fitting frame, it holds dust round the edges of the screen, and you cannot see whether the protector's edges are clear of the case's lip. Take it off, fit the protector, then put the case back.
How long before I can use the phone?
Glass with a sticky layer can be used straight away, though it is worth leaving it alone for an hour so that the adhesive settles. Film, and glass fitted with a liquid adhesive, may need longer: follow the time in the instructions.
Why did a bubble appear a day later?
Usually it is a speck that was always there, now visible because the adhesive round it has settled. Sometimes it is an edge that a case is pushing up. Try lifting and cleaning it as above.
Can I reuse a protector after taking it off?
Film can sometimes be lifted and laid again a few times while it is new. A glass protector, once fully off, rarely sticks as well a second time, and its adhesive will have collected dust. It is usually better to use a fresh one.
Does the same method work for a tablet or a watch?
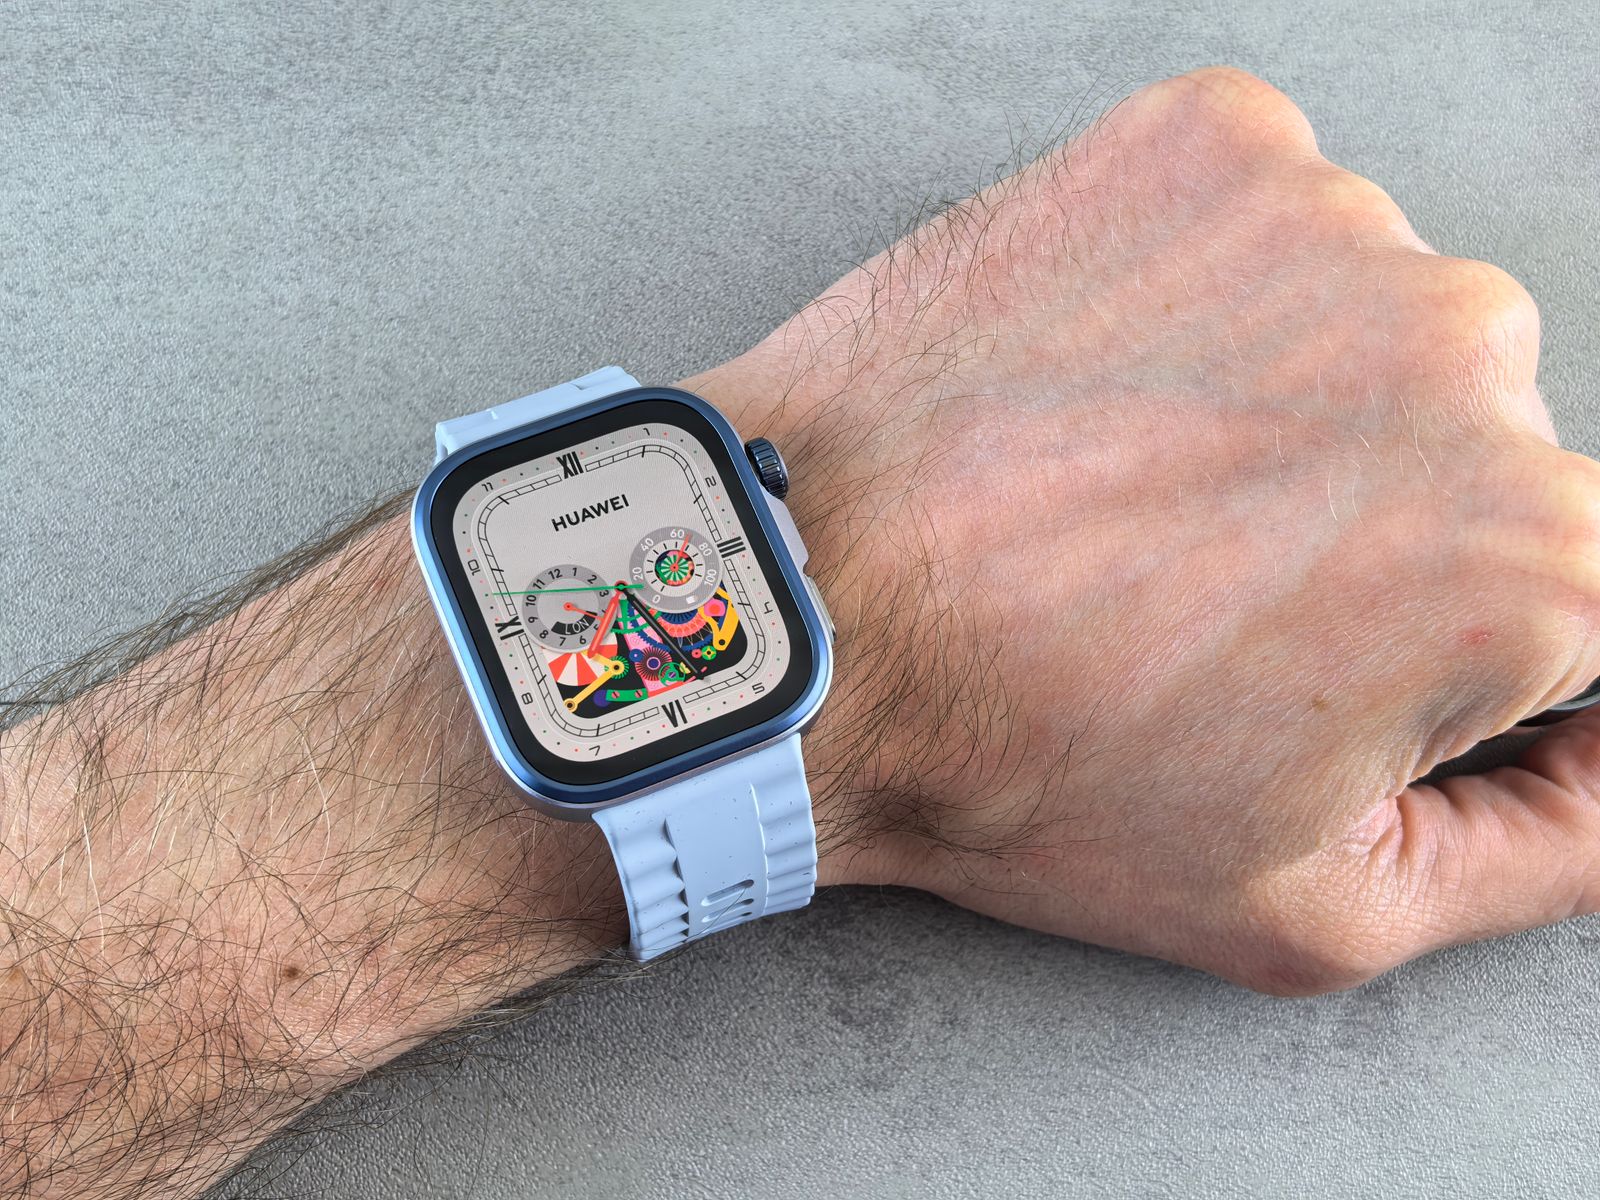
Yes. A tablet screen protector is bigger and harder to line up, so the hinge method and a second pair of hands help. A watch screen protector is small and goes down quickly, so cleaning matters even more, because there is no room to push a bubble out.
Where to go next
If you are choosing a protector to fit, the ranges are tempered glass screen protectors, privacy screen protectors, anti-glare screen protectors, full-cover glass and hydrogel film, with camera lens protectors for the back of the phone and phone cleaning kits for keeping it all clean. For the rest of the choice:
- Screen protectors explained: glass, privacy, anti-glare and film, and which suits your phone
- Camera lens protectors: what they do and how to choose one
- How to clean your phone safely: what the phone makers say you can use
Delivery is included in every price and tracked to your door.